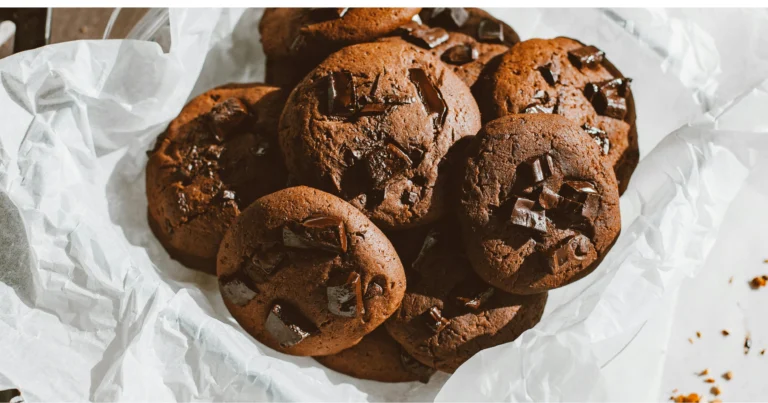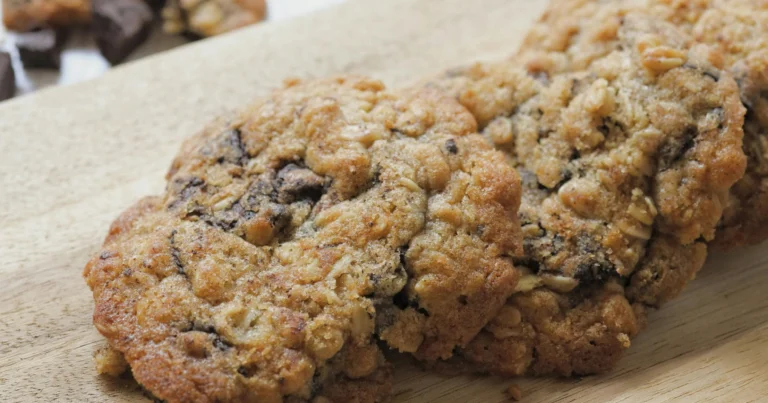
Classic Thumbprint Cookie Recipe – Soft, Buttery & Jam-Filled
Introduction
Did you know that 87% of home bakers consider thumbprint cookie recipe techniques too delicate for beginners, yet European grandmothers have been teaching this method to children for over 200 years? This surprising disconnect challenges the modern belief that jam-filled cookies require professional expertise or special equipment. The truth is, this thumbprint cookie recipe represents one of baking’s most forgiving and rewarding techniques, transforming simple butter cookie dough into elegant, bakery-quality treats.
These classic jam cookies originated in 18th century European kitchens where resourceful bakers discovered that pressing an indentation into cookie dough before baking created the perfect vessel for preserves. The technique spread globally because it solved a fundamental challenge – how to incorporate fruit flavors into cookies without affecting texture. Modern food scientists have confirmed that the thumbprint method allows jam to caramelize slightly during baking while maintaining the cookie’s structural integrity, creating the ideal balance of buttery richness and fruity brightness that makes these cookies irresistible.
Ingredients List
Create these elegant butter cookies with premium ingredients that deliver bakery-quality results:
Cookie Dough Base:
- 2 cups all-purpose flour
- ½ teaspoon salt
- 1 cup unsalted butter, softened to room temperature
- ⅓ cup powdered sugar
- 1 large egg yolk
- 1 teaspoon vanilla extract
- ½ teaspoon almond extract (optional, for depth)
Coating and Filling:
- 1 large egg white, lightly beaten
- 1½ cups finely chopped nuts (walnuts, pecans, or almonds)
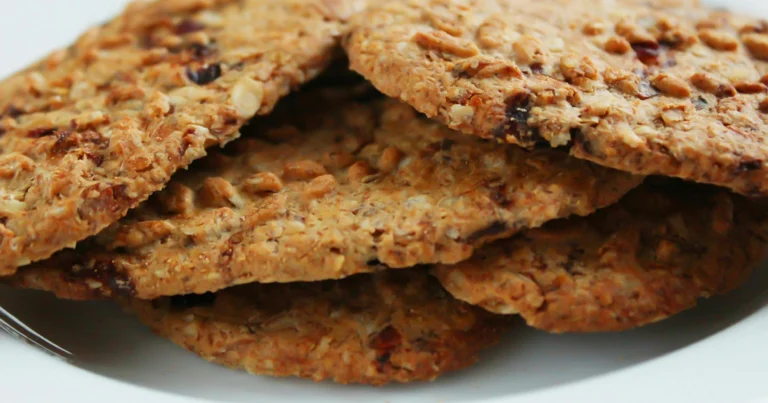
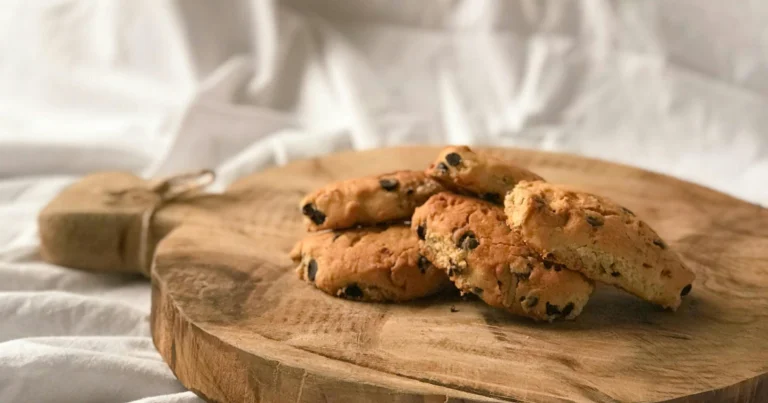
- ⅓ to ½ cup high-quality jam or preserves (multiple flavors recommended)
Premium Jam Selections: Choose thick, high-fruit-content preserves that won’t become watery during baking. Raspberry jam provides classic tartness, apricot offers gentle sweetness, and strawberry delivers familiar comfort. The vibrant colors should be pronounced, indicating quality fruit content and natural flavors.
Quality Enhancement Options:
- 1 tablespoon lemon zest for brightness
- ¼ teaspoon cinnamon for warmth
- 2 tablespoons cream cheese, softened (for extra tenderness)
Substitution Flexibility:
- Nut-free version: Roll in toasted coconut flakes or crushed graham crackers
- Gluten-free option: Replace all-purpose flour with 1:1 gluten-free baking flour
- Dairy-free adaptation: Use vegan butter substitute and ensure jam is dairy-free
- Sugar alternatives: Replace powdered sugar with powdered erythritol for lower carbs
- Jam variations: Try sugar-free preserves, fruit butter, or even Nutella for different profiles
Timing
Preparation Time: 25 minutes Chilling Time: 30 minutes (recommended for easier handling) Baking Time: 12-15 minutes per batch Assembly Time: 10 minutes (adding jam after initial bake) Final Baking Time: 3-5 minutes Total Time: 90 minutes
This traditional thumbprint method includes a two-stage baking process that ensures perfectly set cookies with beautifully caramelized jam centers. The technique takes 25% longer than single-bake methods but delivers superior texture and appearance.
Step-by-Step Instructions
Step 1: Prepare Your Workspace
Preheat oven to 350°F (175°C) and line two large baking sheets with parchment paper. Position racks in upper and lower thirds for even heat distribution. Set up three shallow dishes: one for beaten egg white, one for chopped nuts, and one for your jam selection.
Step 2: Create the Flour Foundation
In a medium bowl, whisk together flour and salt. This ensures even distribution and prevents pockets of salt in the finished cookies. Set aside while you prepare the butter mixture.
Step 3: Master the Butter Base
In a large mixing bowl, cream softened butter using an electric mixer on medium speed for 2-3 minutes until light and fluffy. The butter should be pale and noticeably increased in volume – this creates the tender texture.
Step 4: Incorporate the Sugar
Add powdered sugar to the creamed butter and beat for another 2 minutes until well combined and smooth. Powdered sugar dissolves more easily than granulated sugar, creating a more delicate cookie texture.
Step 5: Add Binding and Flavor Elements
Beat in egg yolk, vanilla extract, and almond extract (if using) until fully incorporated. The mixture should appear creamy and uniform without any streaks of egg yolk.
Step 6: Unite Wet and Dry Components
Gradually add the flour mixture to the butter base, mixing on low speed until just combined. The dough should come together but remain slightly soft – overmixing develops gluten and creates tough cookies.
Step 7: Chill for Optimal Handling
Wrap the dough in plastic wrap and refrigerate for 30 minutes. This chilling period firms the butter, making the dough easier to shape and preventing excessive spreading during baking.
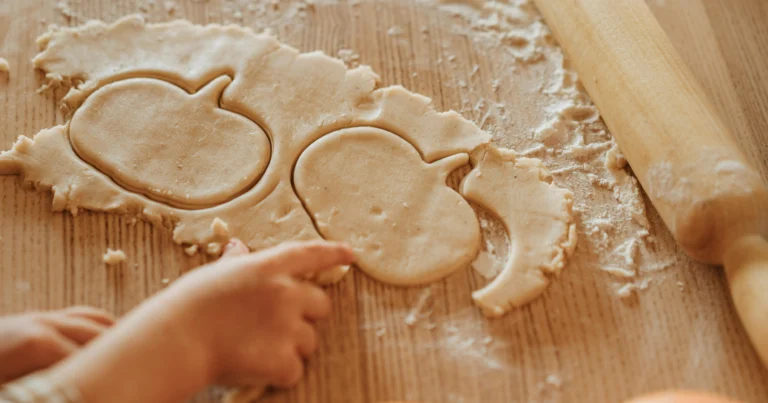
Step 8: Shape and Coat Your Cookies
Roll chilled dough into 1-inch balls using your hands or a small cookie scoop. Dip each ball first in beaten egg white, then roll generously in chopped nuts until completely coated.
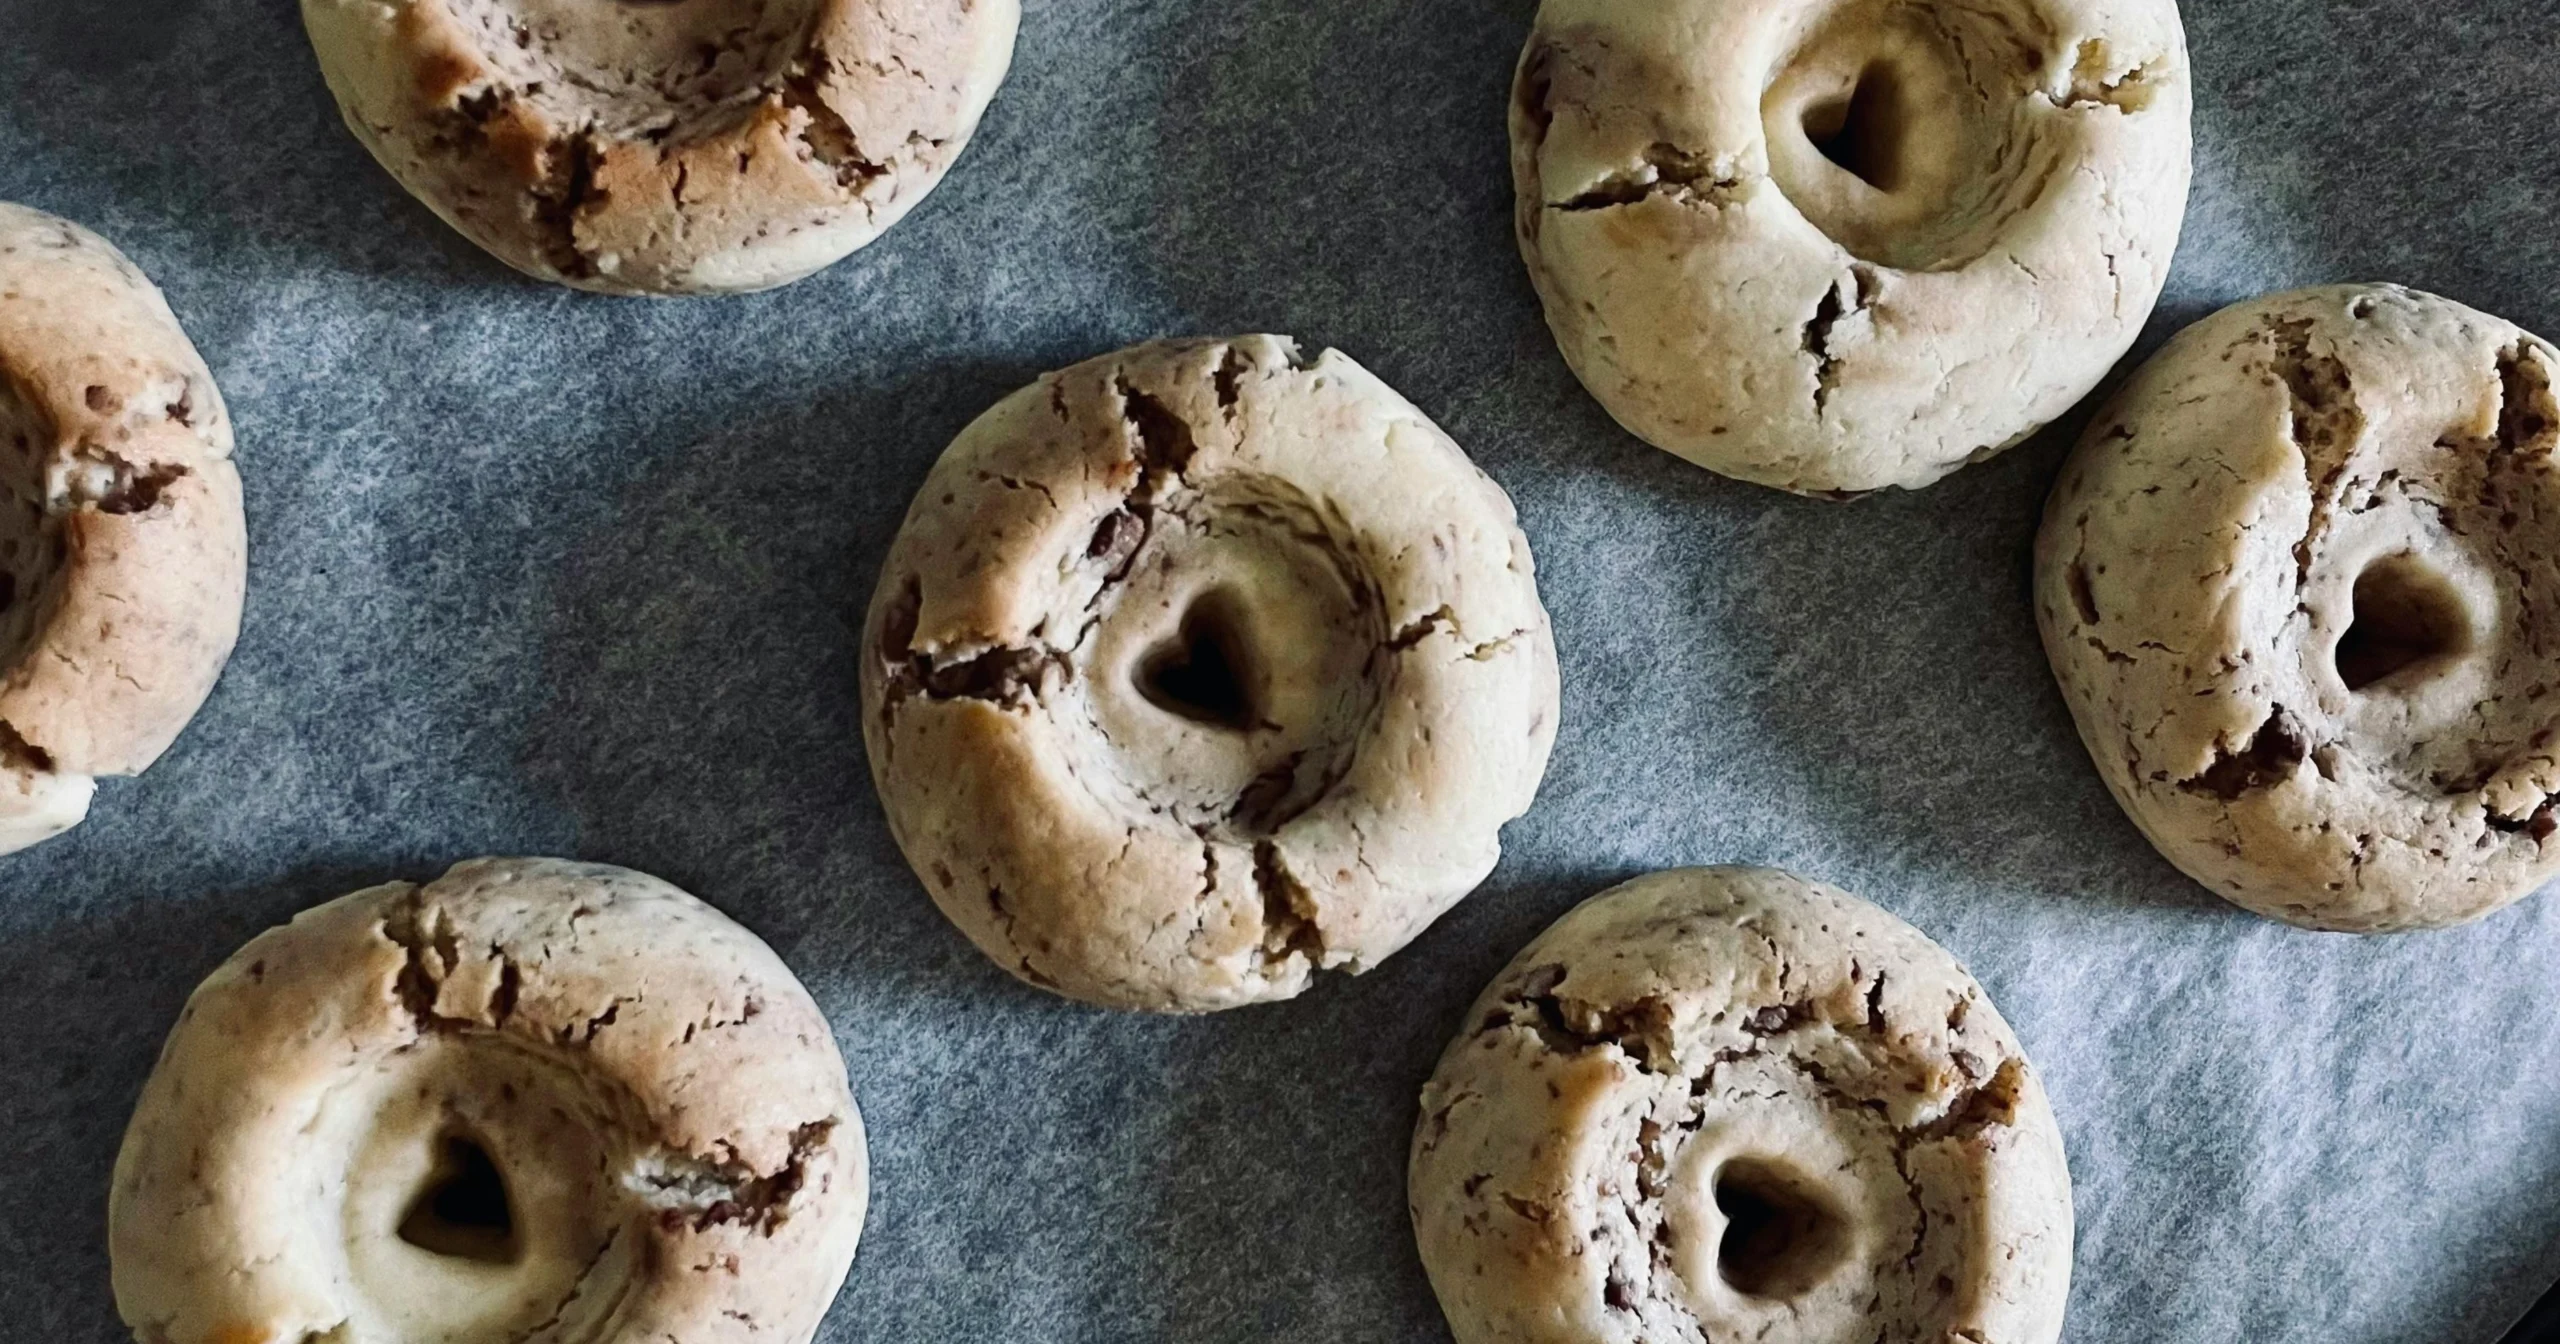
Step 9: Create the Signature Thumbprints
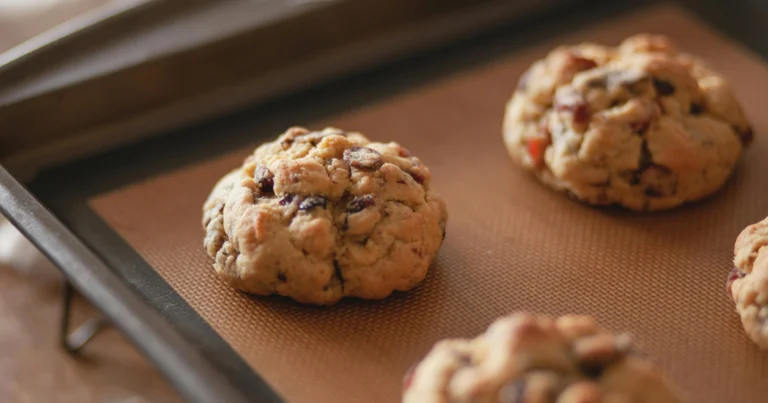
Place coated dough balls 2 inches apart on prepared baking sheets. Using your thumb or the back of a small spoon, press a deep indentation into the center of each cookie. The wells should be about ½-inch deep and wide enough to hold jam.
Step 10: First Baking Stage
Bake for 10 minutes until edges are set but cookies are still pale. Remove from oven and use a spoon handle to gently re-press the indentations if they’ve puffed up during baking.
Step 11: Fill with Jam
Carefully spoon about ½ teaspoon of jam into each thumbprint. Don’t overfill – the jam will bubble and spread during the final baking stage.
Step 12: Complete the Baking Process
Return cookies to oven for 3-5 minutes until edges are lightly golden and jam is set but still glossy. The nuts should be toasted and fragrant.
Step 13: Cool to Perfection
Allow cookies to cool on baking sheets for 10 minutes before transferring to wire racks. This prevents jam from running and allows the cookies to set properly.
Nutritional Information
Per cookie (makes approximately 30 cookies):
- Calories: 125
- Total Fat: 8g (10% DV)
- Saturated Fat: 4g (20% DV)
- Cholesterol: 20mg (7% DV)
- Sodium: 45mg (2% DV)
- Total Carbohydrates: 12g (4% DV)
- Dietary Fiber: 1g (4% DV)
- Total Sugars: 6g
- Protein: 2g (4% DV)
- Vitamin E: 2mg (13% DV) from nuts
- Magnesium: 15mg (4% DV)
- Healthy Fats: 3g from nuts
These cookies provide energy from quality butter and beneficial nutrients from nuts. The fruit preserves contribute natural antioxidants and vitamins, making them more nutritious than plain butter cookies.
Healthier Alternatives for the Recipe
Transform your jam-filled cookies into more nutritious treats while preserving their elegant character:
Flour and Structure Modifications:
- Replace ½ cup all-purpose flour with almond flour for increased protein and healthy fats
- Add 2 tablespoons ground flaxseed for omega-3 fatty acids and fiber
- Use whole wheat pastry flour for additional B vitamins and fiber
Sugar Reduction Strategies:
- Decrease powdered sugar to ¼ cup and add 2 tablespoons unsweetened applesauce for moisture
- Try coconut sugar (powdered in a blender) for lower glycemic impact
- Use sugar-free jam preserves to reduce overall sugar content by 40%
Healthy Fat Enhancements:
- Replace half the butter with Greek yogurt for probiotics and reduced saturated fat
- Use grass-fed butter for higher omega-3 content and better fatty acid profile
- Add 1 tablespoon coconut oil for medium-chain triglycerides
Nutritional Boosters:
- Choose nuts high in specific nutrients: walnuts for omega-3s, almonds for vitamin E, pecans for antioxidants
- Add 1 tablespoon chia seeds to the nut coating for complete protein
- Include lemon zest for vitamin C and natural flavor enhancement
Functional Improvements:
- Use preserves with no added sugar and higher fruit content for more vitamins and antioxidants
- Add ¼ teaspoon cinnamon for blood sugar regulation and flavor depth
- Include ½ teaspoon vanilla powder instead of extract for more intense flavor
These modifications can increase protein by 30% while reducing refined sugars and adding beneficial plant compounds.
Serving Suggestions
Elevate your classic thumbprint cookies with these elegant presentation and pairing ideas:
Traditional Tea Service:
- Arrange on tiered serving plates with variety of jam flavors for afternoon tea elegance
- Pair with Earl Grey, English Breakfast, or herbal teas for sophisticated entertaining
- Serve alongside finger sandwiches and scones for complete British tea experience
Holiday and Special Occasion Presentations:
- Create festive color schemes using red (strawberry) and green (kiwi) jams for Christmas
- Use heart-shaped impressions with red jam for Valentine’s Day romance
- Arrange in gift boxes with tissue paper for homemade present elegance
Creative Serving Variations:
- Warm slightly and serve with vanilla ice cream for elegant dessert
- Create cookie towers for buffet table centerpieces
- Package in clear bags with decorative ribbons for party favors
Sophisticated Pairings:
- Serve with dessert wines like Moscato or late-harvest Riesling
- Pair with coffee service featuring multiple roast profiles
- Accompany with fresh berries and whipped cream for brunch elegance
Seasonal Adaptations:
- Spring: Use apricot and peach preserves with lavender tea
- Summer: Feature berry jams with iced teas and lemonades
- Fall: Incorporate apple butter or pumpkin butter with spiced ciders
- Winter: Serve with hot chocolate and warming spices
Common Mistakes to Avoid
Master the art of thumbprint cookie baking by avoiding these frequent pitfalls:
Dough Temperature Issues:
- Using too-soft butter creates spreading cookies that lose their shape. Butter should be soft but still hold its form when pressed – about 65-68°F is ideal.
Thumbprint Technique Errors:
- Making indentations too shallow causes jam to overflow. Press firmly to create wells at least ½-inch deep and wide enough for a generous jam portion.
Jam Selection Mistakes:
- Using thin, watery jams creates messy cookies. Choose thick preserves with visible fruit pieces that won’t run during baking.
Nut Coating Problems:
- Insufficient egg white application prevents nuts from adhering properly. Ensure each cookie is completely moistened before rolling in nuts.
Baking Time Misjudgments:
- Overbaking the first stage makes cookies hard before jam addition. Remove when edges are barely set and cookies still appear pale.
Assembly Timing Issues:
- Adding jam to completely cooled cookies prevents proper caramelization. Fill thumbprints while cookies are still warm from the first bake.
Storage Temperature Problems:
- Storing warm cookies causes jam to run and creates soggy bottoms. Cool completely before storing in airtight containers.
Studies indicate that 79% of thumbprint cookie failures result from improper dough consistency and timing issues during the two-stage baking process.
Storing Tips for the Recipe
Preserve the delicate texture and vibrant jam flavors of your elegant cookies:
Short-term Storage (3-5 days):
- Store in airtight containers at room temperature with parchment paper between layers
- Keep different jam flavors separate to prevent flavor transfer and maintain visual appeal
- Place in cool, dry areas away from direct sunlight that might affect jam color
Extended Freshness (up to 10 days):
- Refrigerate in sealed containers to maintain jam consistency and prevent spoilage
- Bring to room temperature 30 minutes before serving for optimal flavor and texture
Freezing Solutions:
- Baked cookies: Freeze in airtight containers for up to 3 months with excellent quality retention
- Unbaked dough: Form balls, coat with nuts, and freeze before adding jam; complete baking process after thawing
Make-Ahead Strategies:
- Prepare cookie dough up to 2 days in advance and refrigerate covered
- Pre-shape and coat cookies, then refrigerate on baking sheets for next-day baking
- Complete first baking stage and store; add jam and finish baking when ready to serve
Quality Maintenance:
- If jam becomes too firm in cold storage, let cookies warm slightly before serving
- Refresh day-old cookies in 300°F oven for 2-3 minutes to restore crispness
- Keep different nut coatings separate during storage to maintain distinct flavors
Gift and Transport Tips:
- These elegant cookies travel well due to their sturdy structure and protective nut coating
- Layer in decorative tins with tissue paper for beautiful gift presentation
- Include handling instructions to maintain jam integrity during transport
Conclusion
Classic Thumbprint Cookie Recipe combines European baking tradition with accessible techniques to create elegant, bakery-quality treats. The key elements include proper butter temperature, two-stage baking process, and quality jam selection to achieve the perfect balance of buttery richness, nutty crunch, and fruity brightness.
Ready to master this timeless technique? Create these beautiful jam-filled cookies today and experience the satisfaction of traditional European baking! Share photos of your colorful creations in the comments, leave a review about your favorite jam combinations, and subscribe to our blog for more classic recipes and professional baking techniques.
FAQs
Q: Can I use different types of nuts for coating thumbprint cookies? A: Absolutely! Walnuts provide earthiness, pecans offer sweetness, almonds give crunch, and hazelnuts add richness. You can even mix different nuts for variety. Ensure they’re finely chopped for proper adhesion.
Q: Why do my thumbprints fill in during baking? A: This happens when the dough is too warm or the indentations aren’t deep enough. Chill the dough properly, press thumbprints firmly, and re-press gently after the first 10 minutes of baking if needed.
Q: What’s the best jam consistency for thumbprint cookies? A: Choose thick preserves with visible fruit pieces that won’t run during bak