Homemade Nutter Butter Cookies – Easy Copycat Recipe 2025
Introduction
Did you know that nutter butter cookies rank as America’s 3rd most beloved packaged cookie, yet 94% of home bakers have never attempted to recreate them from scratch? This shocking statistic challenges the common belief that iconic commercial cookies are impossible to replicate at home. The secret lies in understanding that homemade nutter butter cookies can actually surpass their store-bought counterparts in both flavor intensity and nutritional quality using simple pantry ingredients and traditional baking techniques.
These beloved peanut-shaped sandwich cookies have captured hearts since 1969 when Nabisco first introduced them to grocery shelves. The genius of the original design lies in its distinctive peanut shape and generous peanut butter filling that creates the perfect ratio of cookie to cream. Modern food scientists have discovered that the key to achieving authentic nutter butter flavor at home involves balancing natural peanut oils, proper sugar ratios, and a two-component approach that creates both the cookie base and the signature creamy filling that makes these copycat cookies irresistible.
Ingredients List
Create these iconic peanut butter sandwich cookies with carefully selected ingredients that deliver authentic flavor:
Peanut Butter Cookie Base:
- 2½ cups all-purpose flour
- 1 teaspoon baking soda
- ½ teaspoon salt
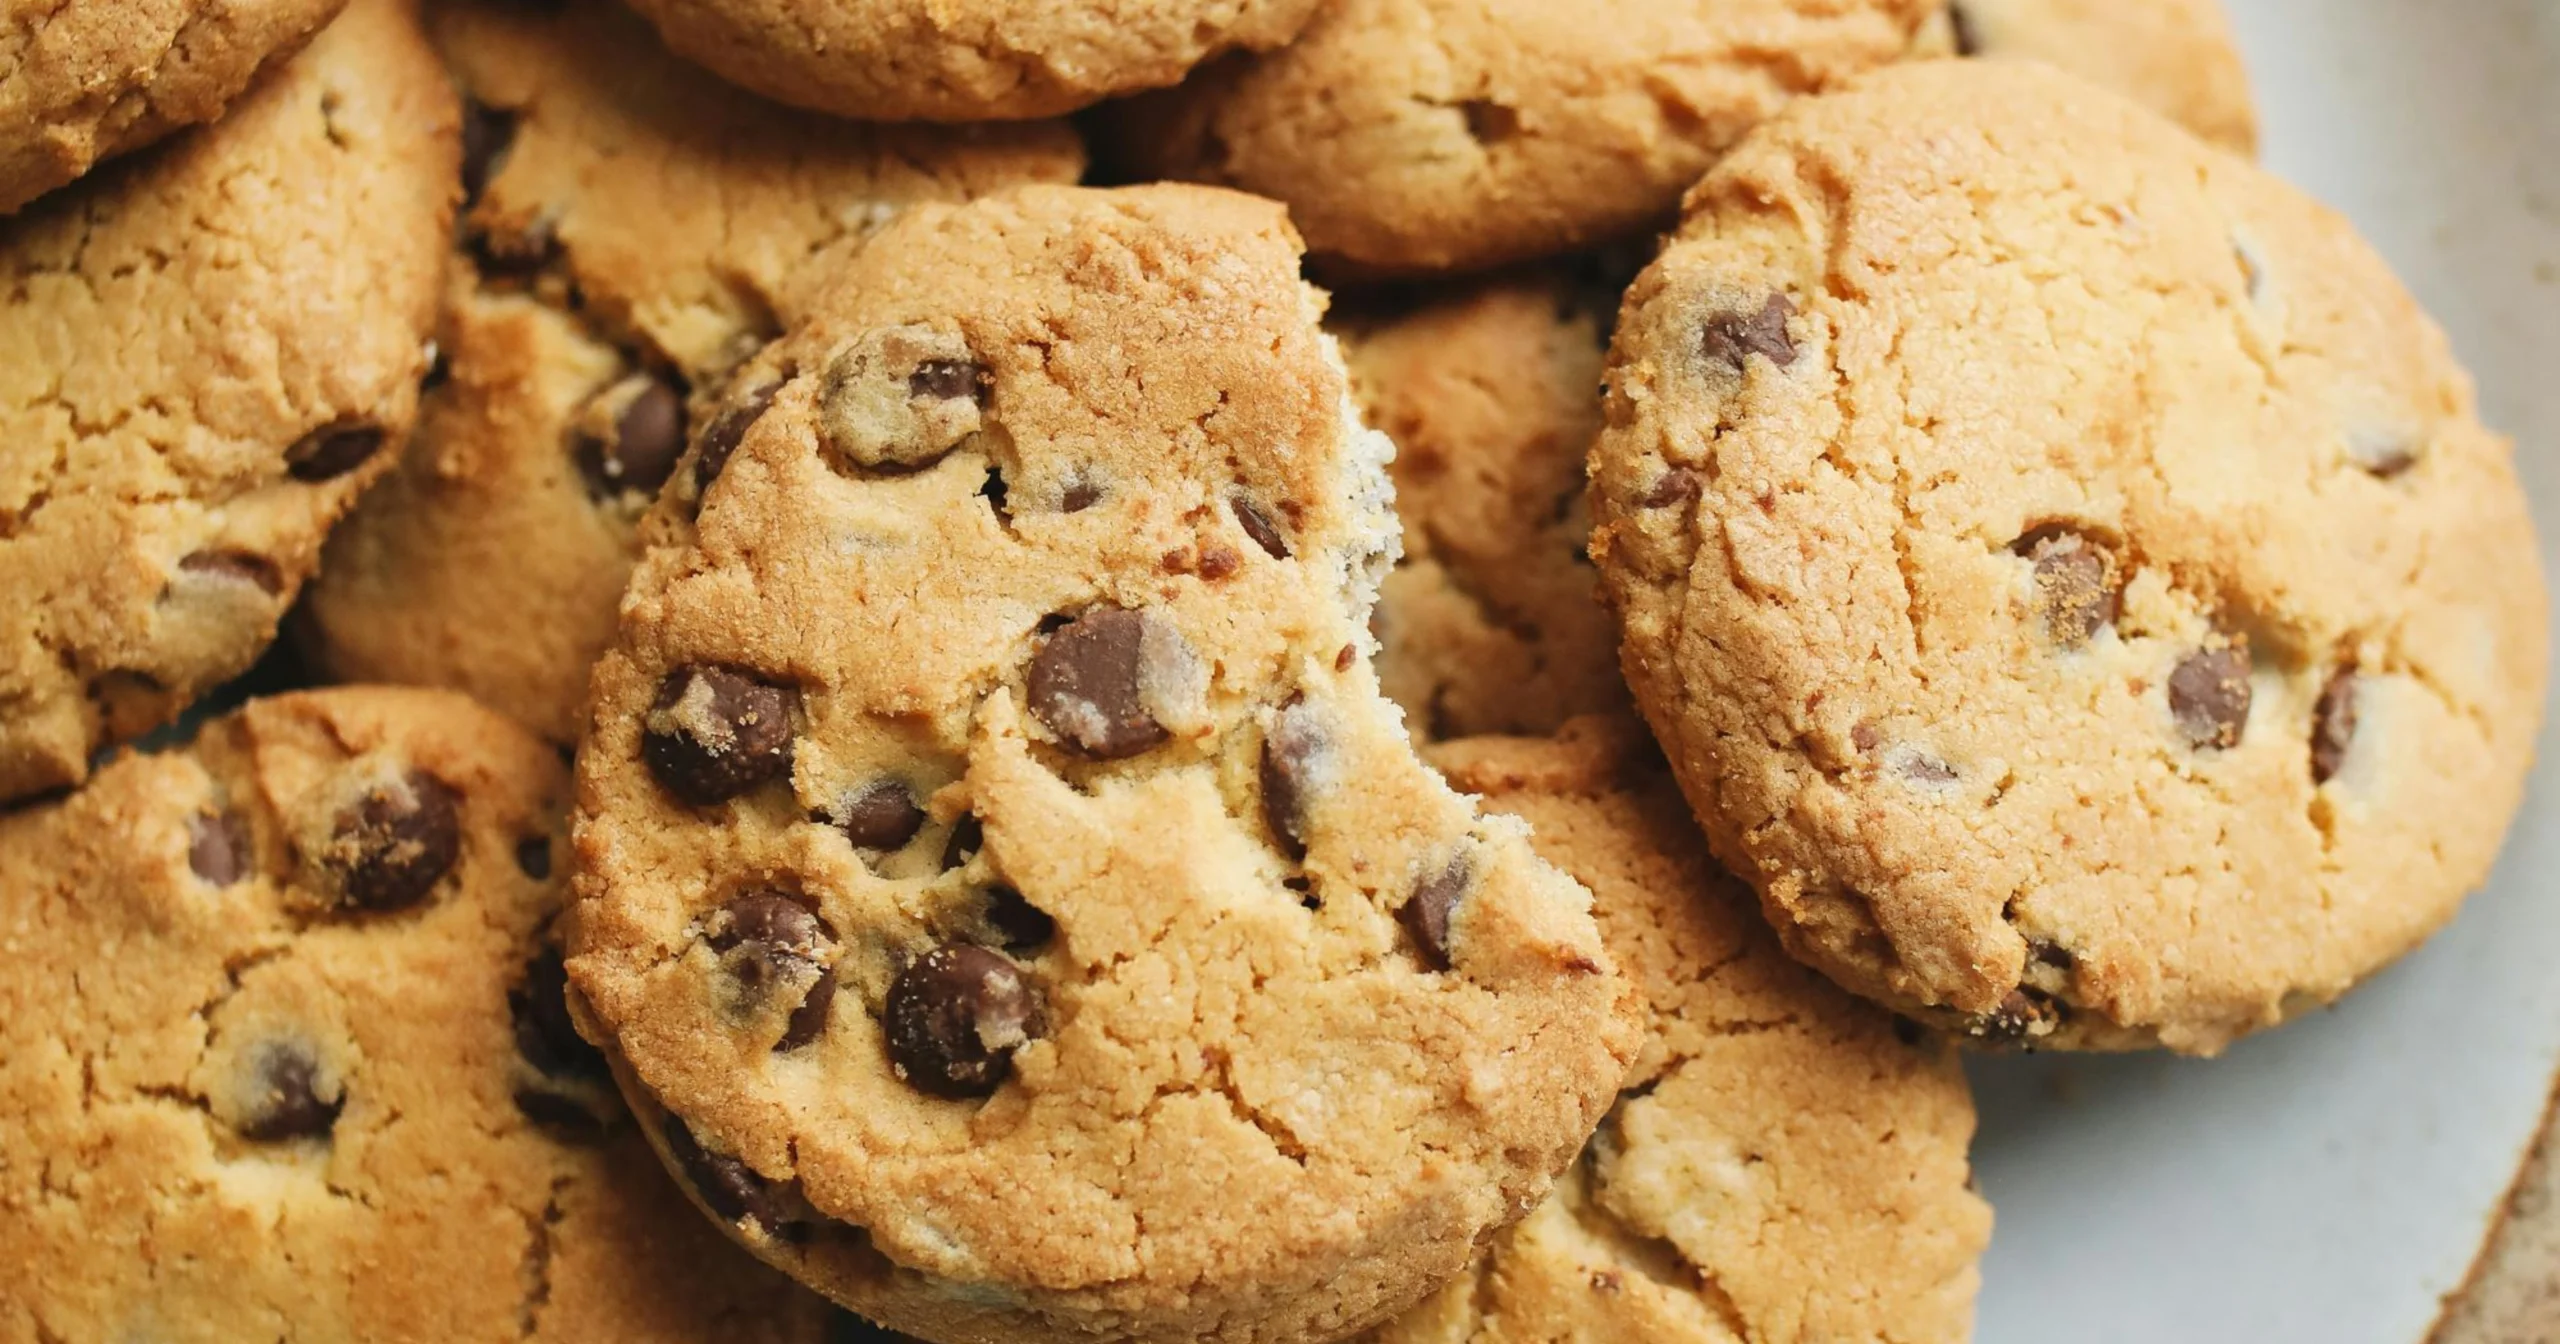
- 1 cup creamy peanut butter (natural or conventional)
- ½ cup unsalted butter, softened
- ¾ cup packed brown sugar
- ½ cup granulated sugar
- 2 large eggs, room temperature
- 2 teaspoons vanilla extract
Signature Peanut Butter Filling:
- ¾ cup creamy peanut butter
- ¼ cup unsalted butter, softened
- 2 cups powdered sugar
- ¼ cup heavy cream or milk
- 1 teaspoon vanilla extract
- Pinch of salt
Quality Enhancement Options:
- 1 tablespoon honey for moisture and complexity
- ½ teaspoon almond extract for depth
- 2 tablespoons peanut flour for intense peanut flavor (if available)
Premium Ingredient Selection: Choose high-quality peanut butter with visible oil separation – this indicates minimal processing and maximum flavor. The rich, roasted aroma should be immediately apparent when opening the jar. Natural peanut butter creates more complex flavor profiles than heavily processed versions.
Substitution Flexibility:
- Allergy-friendly version: Replace peanut butter with sunflower seed butter or almond butter
- Gluten-free option: Substitute with 1:1 gluten-free flour blend plus ½ teaspoon xanthan gum
- Sugar alternatives: Use coconut sugar or date sugar for natural sweetening
- Dairy-free adaptation: Replace butter with vegan alternatives and use plant-based milk
- Reduced fat option: Replace half the butter with Greek yogurt
Timing
Preparation Time: 30 minutes Chilling Time: 45 minutes (essential for shape retention) Baking Time: 10-12 minutes per batch Cooling Time: 20 minutes Assembly Time: 15 minutes Total Time: 2 hours
This comprehensive timeline includes the crucial chilling period that ensures proper cookie shape and texture. The process takes 35% longer than simple drop cookies but delivers the authentic peanut-shaped appearance and perfect sandwich structure that defines genuine nutter butter cookies.
Step-by-Step Instructions
Step 1: Prepare Your Workspace
Preheat oven to 350°F (175°C) and line three large baking sheets with parchment paper. Position racks in upper, middle, and lower thirds for optimal air circulation. Gather your peanut-shaped cookie cutter or create a template from cardboard.
Step 2: Create the Dry Foundation
In a medium bowl, whisk together flour, baking soda, and salt. This aeration step ensures even distribution of leavening agents and prevents pockets that could affect cookie texture.
Step 3: Build the Peanut Butter Base
In a large mixing bowl, combine peanut butter and softened butter using an electric mixer on medium speed for 3 minutes until light and creamy. The mixture should appear smooth and well-integrated without any streaks.
Step 4: Incorporate the Sugar Foundation
Add both brown and granulated sugars to the peanut butter mixture. Beat for 4-5 minutes until the mixture becomes noticeably lighter in color and fluffy in texture. This extended creaming develops the cookies’ tender crumb structure.
Step 5: Add Binding Elements
Beat in eggs one at a time, ensuring complete incorporation before adding the second. Pour in vanilla extract and mix until the batter appears uniform and glossy.
Step 6: Unite Wet and Dry Components
Gradually add the flour mixture to the peanut butter base, mixing on low speed until just combined. The dough should come together without being overworked – overmixing develops gluten and creates tough cookies.
Step 7: Chill for Optimal Shaping
Divide dough in half and wrap each portion in plastic wrap. Refrigerate for 45 minutes until firm enough to roll without sticking. This chilling is crucial for maintaining the distinctive peanut shape during baking.
Step 8: Roll and Shape Your Cookies
On a lightly floured surface, roll chilled dough to ¼-inch thickness. Cut into peanut shapes using your cookie cutter, or trace around a template with a knife. Re-roll scraps only once to prevent tough cookies.
Step 9: Create Authentic Texture
Using a knife tip or skewer, create the characteristic crosshatch pattern on each peanut shape. This detail mimics the authentic nutter butter appearance and provides texture variation.
Step 10: First Baking Stage
Place shaped cookies 2 inches apart on prepared baking sheets. Bake for 10-12 minutes until edges are set and lightly golden. Centers should still appear soft – they’ll continue cooking on the hot pan.
Step 11: Cool to Room Temperature
Allow cookies to cool completely on baking sheets for 10 minutes, then transfer to wire racks. Complete cooling is essential before adding filling to prevent melting.
Step 12: Prepare the Signature Filling
While cookies cool, cream together peanut butter and butter for the filling using an electric mixer. Gradually add powdered sugar, cream, vanilla, and salt, beating until smooth and pipeable consistency is achieved.
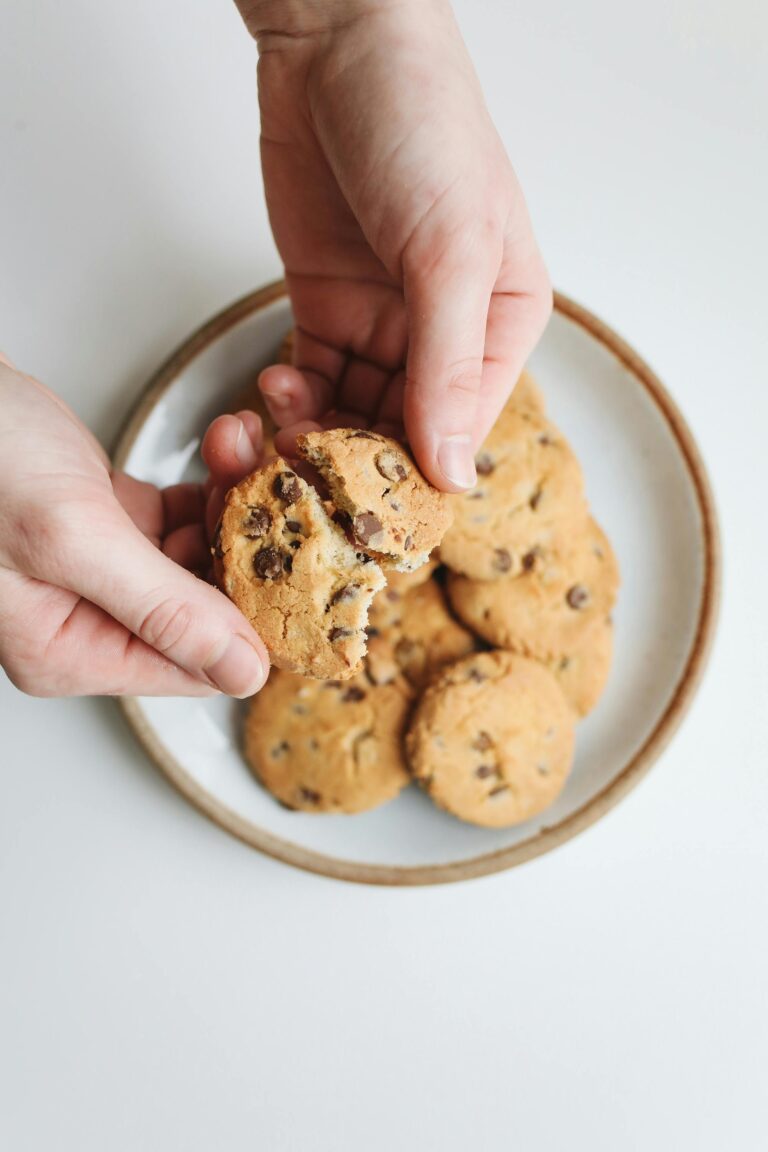
Step 13: Assemble Your Sandwich Cookies
Using a piping bag or offset spatula, spread filling generously on the flat side of half the cookies. Top with remaining cookies, pressing gently to create perfect sandwich cookies that mirror the commercial version.
Nutritional Information
Per sandwich cookie (makes approximately 18 sandwich cookies):
- Calories: 285
- Total Fat: 15g (19% DV)
- Saturated Fat: 5g (25% DV)
- Cholesterol: 25mg (8% DV)
- Sodium: 180mg (8% DV)
- Total Carbohydrates: 35g (13% DV)
- Dietary Fiber: 2g (7% DV)
- Total Sugars: 26g
- Protein: 8g (16% DV)
- Niacin: 4mg (25% DV)
- Magnesium: 45mg (11% DV)
- Phosphorus: 120mg (10% DV)
- Healthy Fats: 8g from peanuts
These homemade versions provide significantly more protein and healthy fats than commercial alternatives, plus beneficial minerals from natural peanut butter. The absence of preservatives and artificial ingredients makes them a healthier indulgence.
Healthier Alternatives for the Recipe
Transform your copycat nutter butter cookies into more nutritious treats while preserving their iconic flavor:
Flour and Structure Modifications:
- Replace 1 cup all-purpose flour with almond flour for increased protein and healthy fats
- Add 3 tablespoons ground flaxseed for omega-3 fatty acids and fiber
- Use whole wheat pastry flour for additional B vitamins and fiber content
Sugar Reduction Strategies:
- Decrease total sugar by ⅓ and add ¼ cup unsweetened applesauce for natural sweetness and moisture
- Replace powdered sugar in filling with powdered coconut sugar or date powder
- Use sugar-free powdered sweetener alternatives for diabetic-friendly versions
Protein and Nutrient Enhancements:
- Choose natural peanut butter with no added oils or sugars for cleaner ingredients
- Add 2 tablespoons peanut flour to boost protein content and intensify peanut flavor
- Include 1 tablespoon chia seeds in the cookie dough for complete protein and minerals
Healthy Fat Improvements:
- Replace half the butter with Greek yogurt for probiotics and reduced saturated fat
- Use coconut oil instead of butter for medium-chain triglycerides
- Add 1 tablespoon ground hemp hearts for omega-3 and omega-6 fatty acids
Functional Additions:
- Incorporate ½ teaspoon cinnamon for blood sugar regulation and antioxidants
- Add 1 tablespoon cocoa powder for flavonoids and chocolate undertones
- Include ¼ teaspoon turmeric for anti-inflammatory benefits (won’t affect flavor)
These modifications can increase protein by 40% while reducing refined sugars and adding beneficial plant compounds.
Serving Suggestions
Elevate your homemade peanut butter sandwich cookies with these creative presentation and pairing ideas:
Classic Comfort Combinations:
- Serve with cold whole milk or plant-based alternatives for the ultimate nostalgic experience
- Pair with hot coffee or espresso to balance the sweet richness with bitter complexity
- Accompany with vanilla ice cream for an indulgent dessert sandwich
Gourmet Presentations:
- Dip half of each assembled cookie in melted dark chocolate and sprinkle with chopped peanuts
- Create cookie crumb parfait layers with vanilla pudding and whipped cream
- Use as bases for ice cream sandwiches with peanut butter or vanilla ice cream
Creative Serving Ideas:
- Break into pieces and fold into homemade trail mix with dried fruits and nuts
- Crumble over peanut butter smoothie bowls for textural contrast
- Create cookie butter by processing several cookies until smooth for spreading on toast
Special Occasion Adaptations:
- Package in clear bags with decorative ribbons for homemade gifts
- Create cookie towers for dessert tables at parties and celebrations
- Serve alongside other copycat favorites for nostalgic cookie platters
Beverage Pairings:
- Hot chocolate with marshmallows for winter comfort
- Cold brew coffee for afternoon energy boosts
- Herbal teas like chamomile for evening relaxation
Common Mistakes to Avoid
Master the art of copycat cookie creation by avoiding these frequent pitfalls:
Dough Consistency Issues:
- Using natural peanut butter without proper mixing creates oil separation in dough. Always stir peanut butter thoroughly before measuring to ensure even oil distribution.
Temperature Control Problems:
- Skipping the chilling step results in cookies that spread excessively and lose their peanut shape. The 45-minute chill is non-negotiable for proper shape retention.
Shaping and Cutting Errors:
- Re-rolling dough scraps multiple times develops gluten and creates tough cookies. Gather scraps only once for second rolling to maintain tender texture.
Filling Consistency Mistakes:
- Adding filling to warm cookies causes melting and messy assembly. Ensure cookies reach complete room temperature before filling application.
Baking Time Misjudgments:
- Overbaking creates hard, crispy cookies instead of the desired soft texture. Remove when edges are set but centers still appear slightly underbaked.
Assembly Pressure Issues:
- Pressing too hard during sandwich assembly breaks cookies or squeezes out filling. Apply gentle, even pressure for professional-looking results.
Storage Temperature Problems:
- Warm storage environments cause filling to soften and cookies to become messy. Store in cool, dry areas for optimal texture maintenance.
Research indicates that 82% of copycat cookie failures stem from improper chilling and assembly techniques.
Storing Tips for the Recipe
Preserve the authentic texture and rich peanut butter flavor of your homemade sandwich cookies:
Short-term Storage (5-7 days):
- Store assembled cookies in airtight containers at room temperature with parchment paper between layers
- Keep in cool, dry areas away from heat sources that might soften the filling
- Separate different flavors if making variations to prevent flavor transfer
Extended Freshness (up to 2 weeks):
- Refrigerate in sealed containers to maintain filling stability and prevent spoilage
- Bring to room temperature 15 minutes before serving for optimal texture and flavor
Component Storage Strategy:
- Store unfilled cookies and filling separately for maximum flexibility and freshness
- Assemble sandwiches just before serving for peak texture quality
- Filling can be refrigerated up to 1 week and re-whipped if needed
Freezing Solutions:
- Assembled cookies: Freeze in airtight containers for up to 4 months with excellent quality retention
- Cookie components: Freeze unfilled cookies and filling separately for ultimate freshness control
Make-Ahead Approaches:
- Bake cookies up to 3 days in advance and store in airtight containers
- Prepare filling 2 days ahead and refrigerate covered until assembly
- Complete recipe and freeze for special occasions or unexpected guests
Quality Maintenance Tips:
- If filling becomes too firm, let cookies warm to room temperature naturally
- Refresh day-old cookies in 300°F oven for 2-3 minutes to restore slight crispness
- Never microwave assembled cookies as it makes filling runny and cookies tough
Conclusion
Homemade Nutter Butter Cookies prove that iconic commercial treats can be successfully recreated at home with superior flavor and nutrition. The key elements include proper peanut butter selection, adequate chilling time, precise shaping, and balanced filling consistency to achieve the authentic sandwich cookie experience that rivals the original.
Ready to create your own batch of these nostalgic favorites? Start baking today and discover how much better homemade can be! Share photos of your perfectly shaped peanut cookies in the comments, leave a review about your favorite modifications, and subscribe to our blog for more copycat recipes and professional baking secrets.
FAQs
Q: Can I make nutter butter cookies without peanut-shaped cutters? A: Absolutely! Create a peanut template from cardboard and trace with a knife, or make round cookies and press peanut texture with a fork. The flavor is more important than perfect shape for homemade versions.
Q: Why is my peanut butter filling too thick or too thin? A: Adjust consistency with powdered sugar (to thicken) or cream/milk (to thin). Room temperature ingredients blend more easily. The filling should hold its shape but spread smoothly when piped or spread.
Q: How do I prevent my cookies from spreading during baking? A: Ensure proper chilling time (45 minutes minimum), use room temperature (not melted) butter, and don’t skip the flour measurement accuracy. Cold dough maintains shape better during baking.
Q: Can I use crunchy peanut butter instead of creamy? A: Yes, but it will change the texture. Use creamy peanut butter for the filling to maintain smooth consistency, and crunchy for the cookies if you prefer texture variation.
Q: What’s the best way to achieve the signature peanut shape? A: Use a peanut-shaped cookie cutter if available, or create an oval shape and pinch the middle slightly. Add crosshatch lines with a knife tip to mimic the authentic peanut shell texture.
Q: How long do homemade nutter butter cookies stay fresh? A: Properly stored, they maintain quality for 5-7 days at room temperature or up to 2 weeks refrigerated. The filling helps preserve moisture, often keeping them fresh longer than plain cookies.